
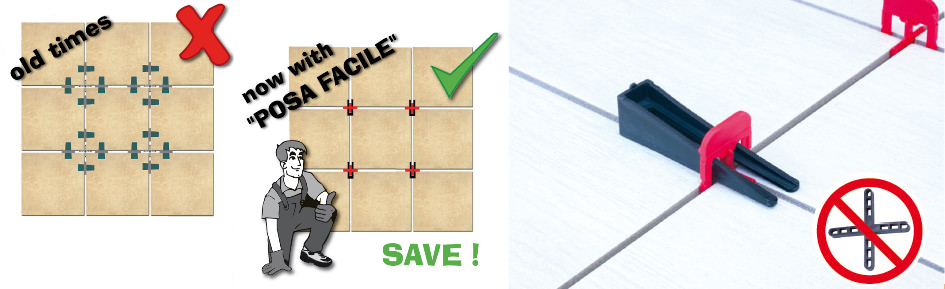
A SINGLE ITEM to ensure both lippage-free tile laying and joint width regulation IN ONE SHOT !
- You can use it on all types of tiles from 2 mm up to 15 mm thick
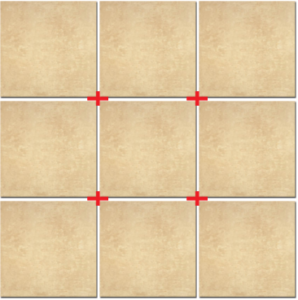
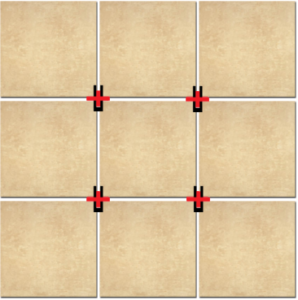
- It helps you for straight, running bond or diagonal installation patterns
- It is all you need to settle joints of 1.5 / 3 / 5 mm width
- The tile spacer is incorporated !
- Ideal for both floors and wall coverings.

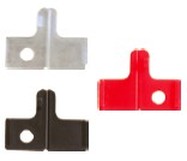
COMPONENTS
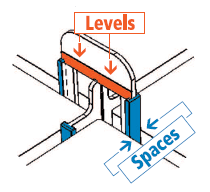
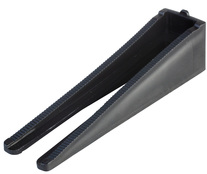
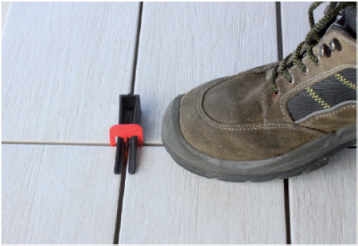
The Reusable Universal Wedge
SPF Universal Wedge fits all SPF Levelling Clips, and virtually all third-party clips. You can insert and tighten it with your bare hands, no pliers are needed. It’s designed to be recuped, so you can reuse it countless times and save.
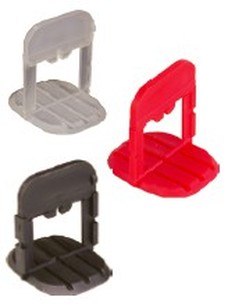
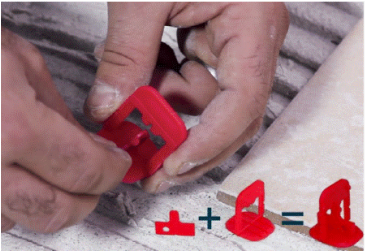
The Levelling Clip
SPF Levelling Clips suit tiles from 2 to 12,5 mm thick, and comes with a built-in tile spacer. You can pick your preferred joint width – 1,5 / 3 / 5 mm – choosing the right color !
The Angle Tab
Add an Angle Item, called “SPF Angle Tab”, to the Levelling Clip to install it under each tile’s corner, saving loads of money and time. Angle Tabs need to match the Clip’s joint width: 1,3 /3 /5 mm.
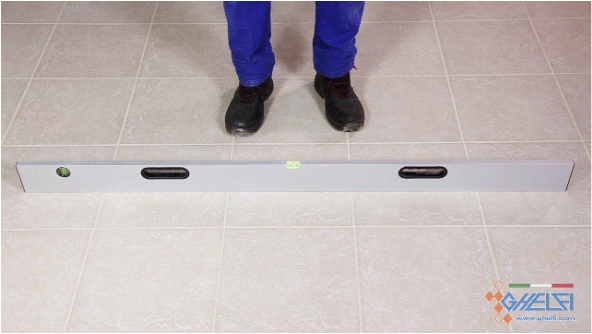
HOW TO USE IT
1 – Choose and prepare the clips
2 – Slip them under tile corners
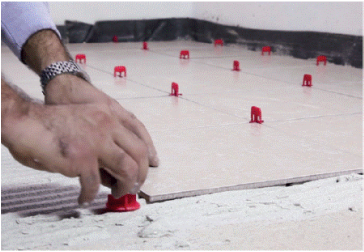
3 – Push wedges all the way in
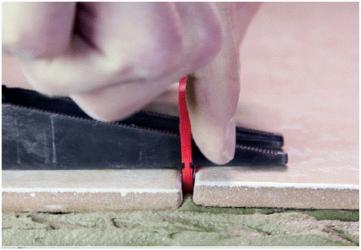
4 – Later, kick-break the top off
…and you are done (already) !
COST PER SQUARE METER IS EXTREMELY LOW
You need very few clips
SPF is designed to be preferrably installed under tile corners, thus requiring surprisingly few Clips and Tabs to obtain a perfectly lippage-free and regular-joint professional result. Fewer Clips means substantial money and time savings !
Remember that our Wedges are designed to be recuped and reused many times: for each subsequent job only very few Clips and Angle Tabs are strictly needed, according to your tiles’ size. Don’t forget to count a few extra Clips in for walls, angles and glitches.
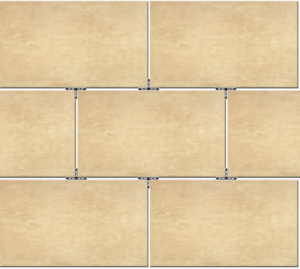
SAVE ON STRAIGHT BOND…
SPF is cheap and quick
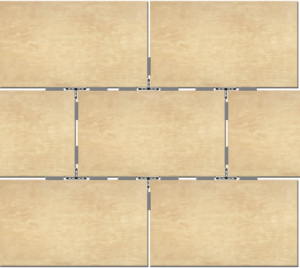
1. Install complete bases instead of traditional spacers. Just 1 per corner. That’s it!
2. Insert and tighten the levelling wedges. See how quick the whole process is.
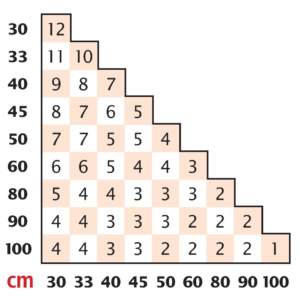
Check just how few bits are needed for a straight bond, depending on tile sizes.
The “old”, longer and more expensive method
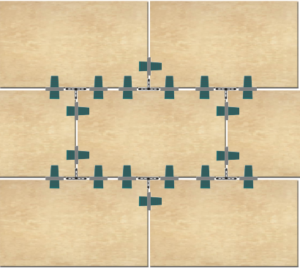
1. Install traditional X spacers, and….
2. …install bases in addition to them. Typically as many as 4 per corner !
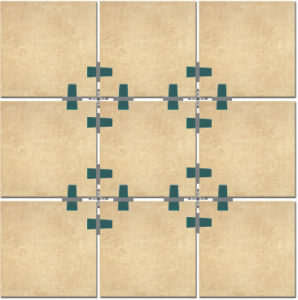
3. Install and tighten levelling wedges. See how many they are, and how long is the process.
…AND ON RUNNING BOND TOO
SPF is best yet again
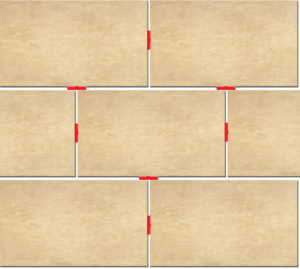
1. Install bases instead of traditional spacers, without using Angle tabs. Put just 1 under every other “T”. Add an extra base on each short tile side, as in the scheme above. That’s it.
2. Insert and tighten the levelling wedges onto “T” corner bases. Very few ones, as no wedge is even needed on short tile sides. See how quick it all is !
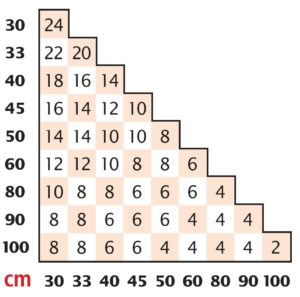
Check how just few bits are needed for a running bond, depending on tile sizes.
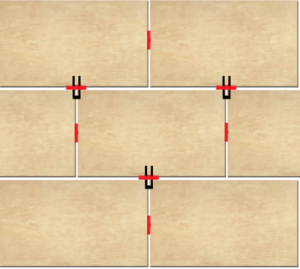
The “old”, longer and more expensive method
1. Install traditional T spacers, and….
2. …install bases in addition to them! Typically as many as 3 near each “T” !
3. Install and tighten levelling wedges. A lot of them. See how many items you need, and how long the process is.
Download the brochure
Watch on catalog

Contact us for any and all information